docker打包部署微服务项目 |
您所在的位置:网站首页 › python 运行java代码 › docker打包部署微服务项目 |
docker打包部署微服务项目
|
docker打包部署微服务项目
idea新建微服务项目新建测试controller本地运行访问测试idea安装docker插件(可选,建议安装)编写Dockefile项目打包上传项目包、Dockefile文件到服务器将Dockefile打成镜像启动容器访问测试
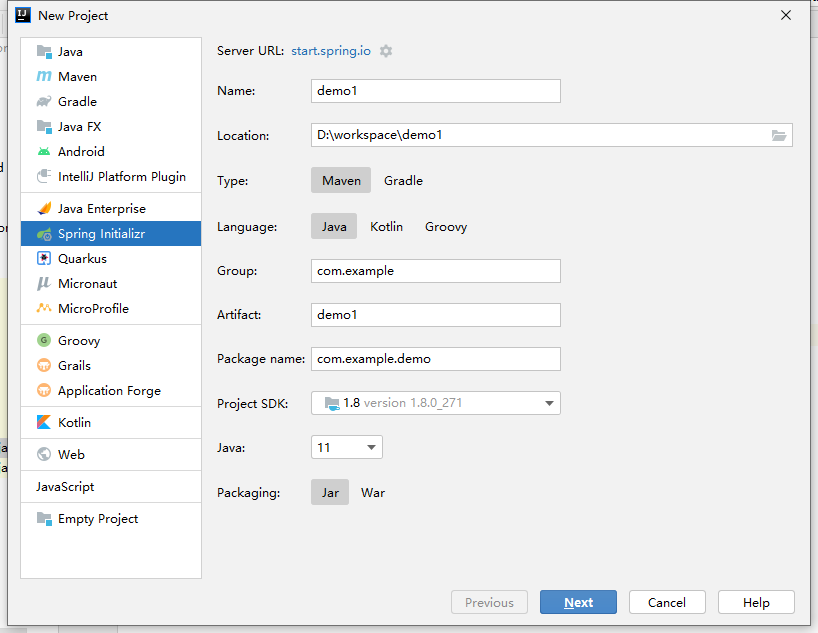
idea新建微服务项目
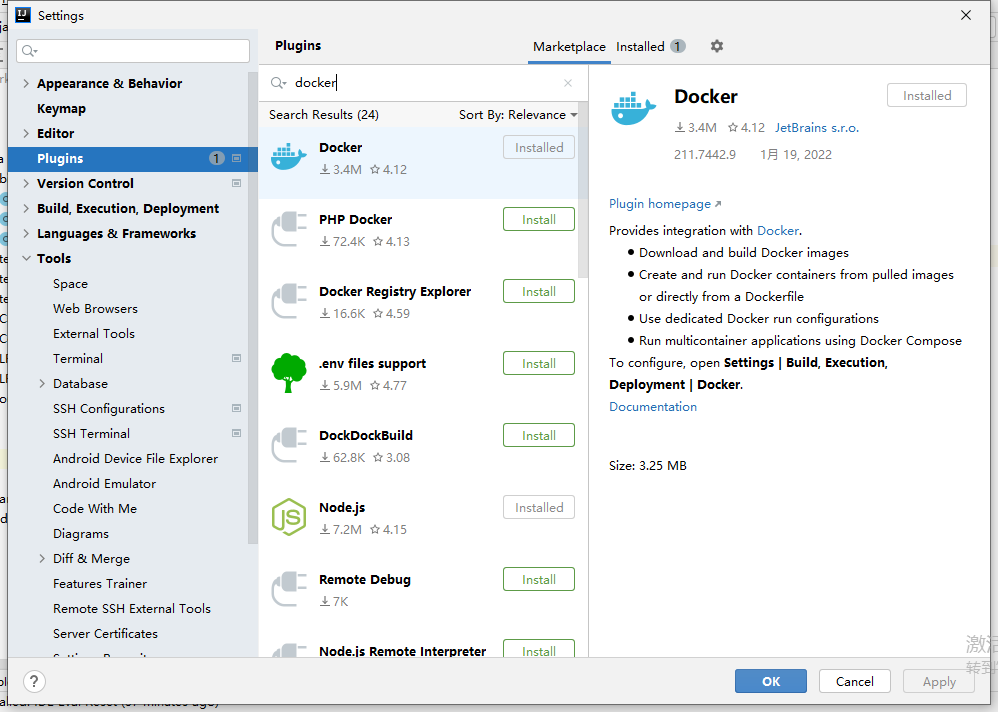
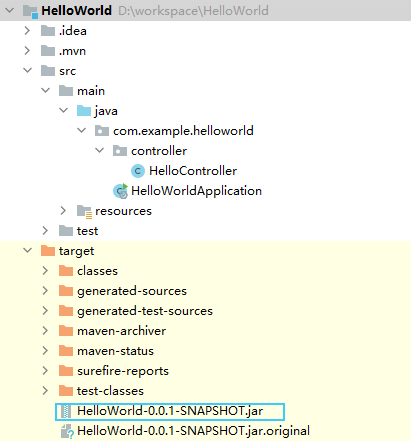
安装docker插件之后,编写Dockefile文件会出现提示和图标展示。 创建文件,名字就叫Dockefile 对项目进行打包 只需要上传项目包和Dockefile文件到服务器即可
命令使用可以参考:Docker10_1:DockerFile介绍及脚本指令 docker build -f Dockefile文件名 -t mycentos:0.1 . # -f dockerfile路径,官方命名Dokcerfile,如果你也是,那么就不需要加-f去指定文件名了 # -t 指定镜像版本,TAG # 结尾的.别少了 [root@VM-0-3-centos testapp]# docker build -t helloapp:0.1 . Sending build context to Docker daemon 17.56MB Step 1/5 : FROM java:8 8: Pulling from library/java 5040bd298390: Pull complete fce5728aad85: Pull complete 76610ec20bf5: Pull complete 60170fec2151: Pull complete e98f73de8f0d: Pull complete 11f7af24ed9c: Pull complete 49e2d6393f32: Pull complete bb9cdec9c7f3: Pull complete Digest: sha256:c1ff613e8ba25833d2e1940da0940c3824f03f802c449f3d1815a66b7f8c0e9d Status: Downloaded newer image for java:8 ---> d23bdf5b1b1b Step 2/5 : COPY *.jar /app.jar ---> 1e96c709ac9d Step 3/5 : CMD ["--server.port=8080"] ---> Running in 62059825c26b Removing intermediate container 62059825c26b ---> 00689c4b47cc Step 4/5 : EXPOSE 8080 ---> Running in 45aa949a8640 Removing intermediate container 45aa949a8640 ---> 025ca3094f42 Step 5/5 : ENTRYPOINT ["java","-jar","/app.jar"] ---> Running in 48c03858cb0c Removing intermediate container 48c03858cb0c ---> 2176eb0b58ff Successfully built 2176eb0b58ff Successfully tagged helloapp:0.1 [root@VM-0-3-centos testapp]#
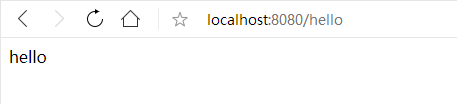
我这里启动容器时用的-P随机暴露端口,也可以自己-p指定,访问时替换为自己的端口即可。 [root@VM-0-3-centos testapp]# docker run -d -P --name helloapp01 helloapp:0.1 c863e9cd50981ed1c9b8d8a3c26f8d241453ea79b54711073ebe21a16f5e8bef [root@VM-0-3-centos testapp]# docker ps CONTAINER ID IMAGE COMMAND CREATED STATUS PORTS NAMES c863e9cd5098 helloapp:0.1 "java -jar /app.jar …" 20 seconds ago Up 19 seconds 0.0.0.0:49158->8080/tcp, :::49158->8080/tcp helloapp01 [root@VM-0-3-centos testapp]# curl localhost:49158/hello hello[root@VM-0-3-centos testapp]#
|

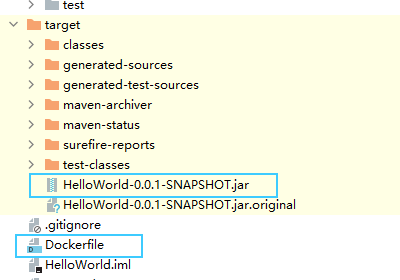
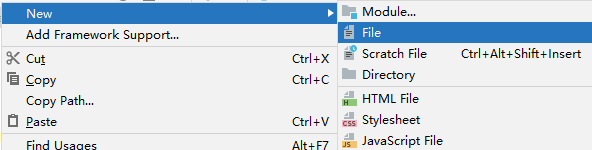 创建完后,如果安装了docker插件,会显示下面的图标


【本文地址】
今日新闻 |
推荐新闻 |